Do You Need To Use a Primer for Interior Painting?
Do You Need To Use a Primer for Interior Painting?
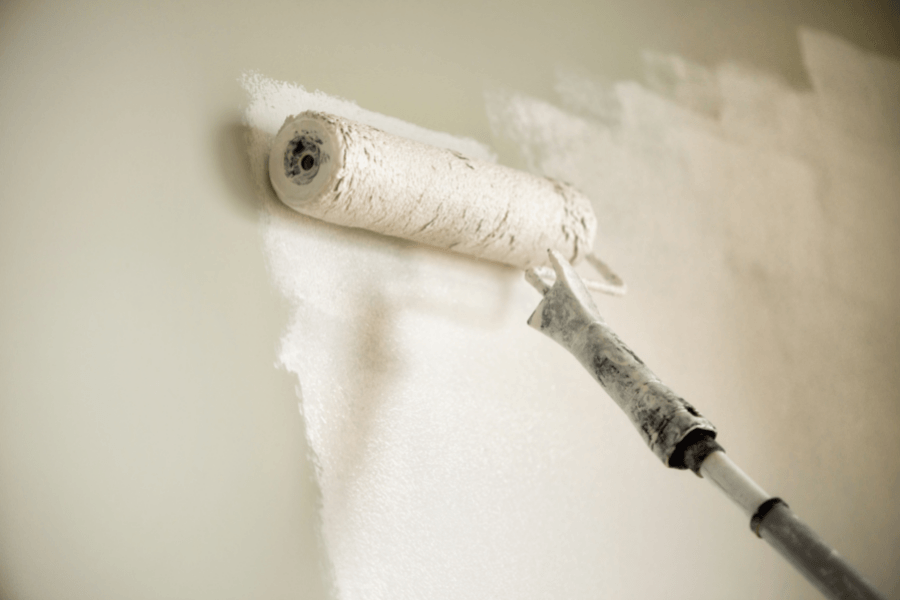
If you follow home improvement trends and products at all, you’ve probably seen the super popular “paint and primer in one!” options. The appeal is strong: knock your project out quicker while skipping the need for that boring initial priming step. It’s way more fun to jump right to the snazzy new topcoat, right?
In some cases, these products do fit the bill, especially if it’s a good quality paint (we won’t name any names, but you get what you pay for).
They’re really only a viable option for the best-case scenario, though. For example, if you’re making an easy color transition on a wall that’s in great shape, like a darker paint over light.
As alluring as these paints can be, it’s important to remember two things:
- Preparation is 80% of a paint job
- Primer isn’t JUST for color transitions: it aids in very key, specific ways depending on the nature of the surface you’re painting
Painting Case Study: Picking a Primer That Blocks Stains and Varnishes
Hold onto your hat. For this recent project we actually used four different primers, each for a strategic purpose.
When we began painting old, varnished baseboards for this particular client, we knew we’d need a high-bond primer that would stick to the surface. So, we applied a coat of Stix primer to build a strong foundation.
Unfortunately, Stix is NOT designed to block the bleed-through of stains and varnishes. This means that over time those base colors would seep back through. No good.
So, as a solution, we applied a second primer that delivers the kind of long-term “hide” that we want. Caulking and paint completed the transformation, and we could rest easy knowing it was done right and would last.
Using the Right Primer After Wallpaper Removal
Let’s move on to a different part of this same job.
Next, we needed to remove wallpaper, and after we did we found spots of surface black mold. Not all that uncommon, especially since this wallpaper was in a bathroom where there are naturally higher levels of moisture.
As a first step, we used a mold-killing primer to ensure that the mold would never grow back. After that, we needed to use a primer that would totally lock down the remnants of wall glue left behind to prevent possible bubbling (if you’re curious, we used Roman 99 primer).
We could then finish minor repairs and move on to the topcoat.
What’s the Takeaway?
First, we’d encourage you to not see primer as a necessary evil, or a step to be skimmed over or minimized. Painting is a lot of work, and it’s worth doing every stage correctly to yield the best result possible.
Secondly, remember that different primers are designed to solve unique problems. They’re an asset, whether you’re covering something as simple as a spackled nail hole, or you need to make sure no more black mold pops up in that downstairs bathroom.
Have more questions about your next
interior or
exterior
painting project? Contact us at Jondec Painting! We’re here to help: no mess, no stress.
Share
Let's Talk Paint!
